Blog
How-to knit a Cat or Small Dog Sweater/Jumper with Tutorial – Free Pattern by Aura Guignard
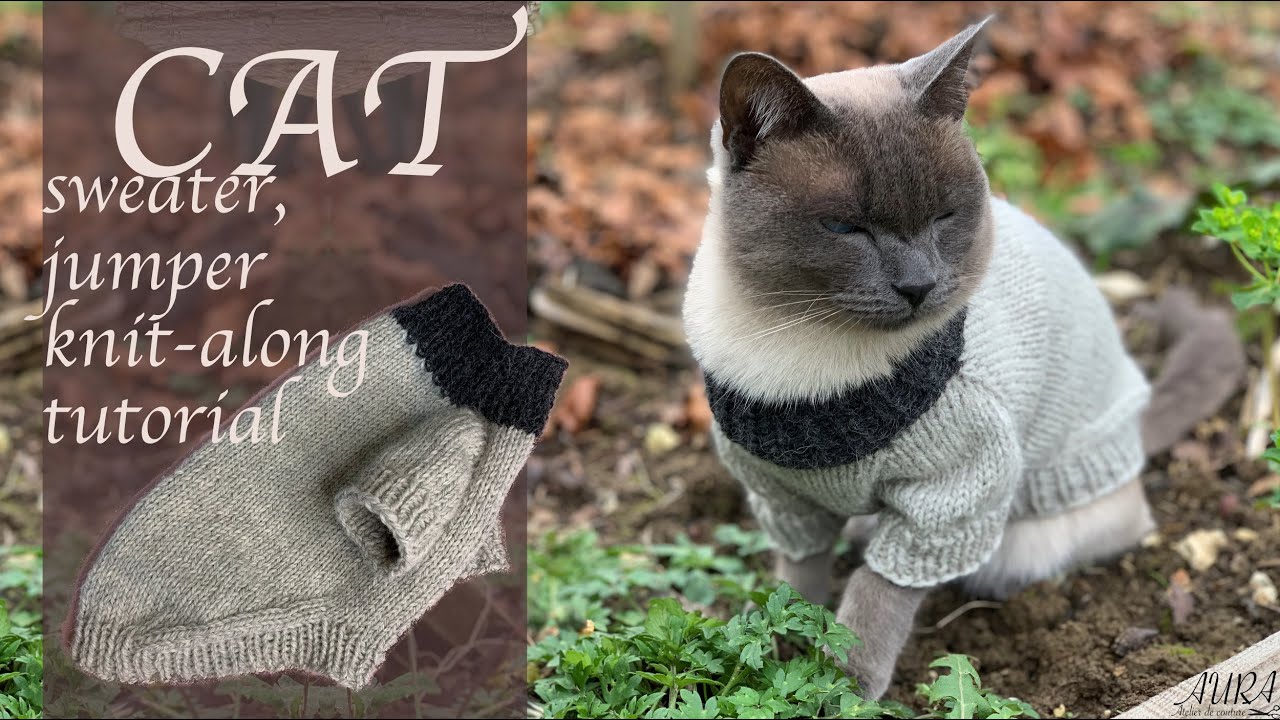
Step-by-Step How-to knit a Cat or Small Dog Sweater/Jumper with Tutorial for Beginners
by Aura Guignard 🧶
Hi everyone, welcome to my knitting tutorial!
Pets naturally have their own fur and usually don’t need extra clothing. However, there’s nothing wrong with making something for them to stay cozy—or just to look cute!
In this guide, I’ll show you how to knit a sweater or jumper for your cat or small dog. You can also find the full step-by-step video tutorial on YouTube.
This pattern is beginner-friendly and comes in five sizes (XS, S, M, L, XL, XXL) to fit different pets comfortably.

Pet Size Chart:
Measurements are for the garment, not the pet’s body. A small ease is included for comfort.
| Size | Collar: see number 1 on the photo (cm/in) | Chest circumference: see number 5 (cm / in) | Back Length (cm / in) |
| XS | 22 cm / 8 ⅝” | 32 cm / 12 ⅞” | 31 cm / 12¼” |
| S | 24 cm / 9 ½” | 36 cm /14 ¼ | 33 cm / 13″ |
| M | 26 cm / 10 ¼” | 40 cm / 15 ⅞” | 35 cm / 13 ¾” |
| L | 28 cm / 11″ | 45 cm / 17 ⅝” | 37 cm / 14 ½” |
| XL | 30 cm / 11 ¾” | 50 cm / 19 ¾” | 39 cm / 15 ⅜” |
| XXL | 32 cm / 12 ½” | 55 cm / 21 ½” | 41 cm / 16″ |
P.S. Different kinds of small dogs and cats have different body lengths, so adjust as needed.

What to prepare:
- Drops Nepal yarn (or any yarn with gauge 17 sts x 22 rows = 10 x 10 cm) – about 100 g for sizes S and M.
- If you’d like to use a different color for the collar, get one extra skein of yarn in that color.
- If your tension is tighter or looser, adjust your needle size accordingly.
- 2 of Circular knitting needles, 4.5 mm (US 7), 42 cm / 16½”
- 4 Stitch markers (2 colors recommended)
- Yarn needle
- Crochet hook, 4.5 mm (US 7)
- Measuring tape
- Scissors
- Optional: 2 stitch holders (you can also use yarn)
🧶 Summary Table – Stitches per Size
| Size | Collar sts (1) | Tummy sts (2) | Back sts | Sleeve sts (3) | Total sts after increases | Underarm increases | Chest sts (5) |
| XS | 42 | 10 | 44 | 23 | 100 | 3 | 60 |
| S | 46 | 12 | 48 | 27 | 114 | 3 | 66 |
| M | 50 | 14 | 52 | 31 | 128 | 4 | 74 |
| L | 54 | 16 | 58 | 37 | 148 | 4 | 82 |
| XL | 58 | 18 | 64 | 43 | 168 | 5 | 92 |
| XXL | 62 | 20 | 70 | 49 | 188 | 5 | 100 |
P.S. The sample in my YouTube tutorial was made in size S.

Let’s start knitting together!
Step 1: Collar
- Cast-on XS: 42 sts, S: 46 sts, M: 50 sts, L: 54 sts, XL: 58 sts, XXL: 62 sts.
- I know the long-tail cast-on can be tricky for some people. So instead, I start by making a long crochet chain and slip the last chain onto the circular needle.
- Using the crochet hook, pull the working yarn through each chain and place the new stitches onto the circular needle.
- P.S. Feel free to use the long-tail cast-on if you prefer — it creates a neat, stretchy edge.
- Coil the needle to form a circle to bring the end of the chain to the first stitch of the circle, being careful not to twist.
- Use another circular needle to knit a 1×1 rib (knit 1, purl 1).
- Tip: Pull the yarn firmly for the first and second stitches.
- After 8 rows, you should be able to continue knitting with just one circular needle. Place a stitch marker at the end of the row (I use green in my video).
- Knit about 12 rows in total, or until you reach your desired collar length.
- Change yarn color after the collar if you prefer. You’ll see me do this in my YouTube tutorial (size S).
Step 2: Body
- Row 1: Knit the Tummy section 10, 12, 14, 16, 18, or 20 stitches depending on the size.
- Place the second stitch marker (green).
- Knit all the rest stitches 32, 34, 36, 38, 40, or 42 stitches.
Sleeve Increases (both sleeves symmetrical):
- Row 2: Knit the Tummy section 10, 12, 14, 16, 18, or 20 stitches.
- Start first sleeve by m1 (make 1 increase), k3, m1.
- Back section: Place a stitch marker (I use purple), k1, m1, knit all the back section until 4 sts remaining, m1, k1, place a stitch marker (purple).
- Second sleeve: m1, k3, m1. Now we have XS: 48 sts, S: 52 sts, M: 56 sts, L: 60 sts, XL: 64 sts, and XXL: 68 sts in total.
- Row 3: Knit all stitches
- Continue increases following the same proportion for each size until:
- Back section sts has: XS= 44, S= 48, M= 52, L= 58, XL= 64, XXL= 70
- Sleeve sts has: XS= 23, S= 27, M= 31, L= 37, XL= 43, XXL= 49
- Total sts: XS= 100, S= 114, M= 128, L= 148, XL= 168, XXL= 188
- Then knit all one more row.
Step 3: Stocking Stitch Body
- Knit the Tummy section 10, 12, 14, 16, 18, or 20 stitches.
- Increase XS: 3, S: 3, M: 4, L: 4, XL: 5, or XXL: 5 stitches under the arm. (I do this by picking up the yarn through the hole of the stitch before.)
- Place 23, 27, 31, 37, 43, or 49 stitches of the first sleeve onto a stitch holder — or just onto a scrap yarn like I do.
- Continue knitting across the back.
- Place 23, 27, 31, 37, 43, or 49 stitches of the second sleeve onto a stitch holder or scrap yarn as well.
- Increase 3, 3, 4, 4, 5, or 5 more stitches; you should now have 60, 66, 74, 82, 92, or 100 stitches on your needle.
Now combine the tummy, back, and underarm stitches — see the 🧶 Summary Table above for totals by size.
- Knit in stocking stitch until the body length XS: 13 cm / 5⅛”, S: 15 cm / 5⅞”, M: 17 /6¾”, L: 19 cm / 7½”, XL: 21 cm / 8¼”, XXL: 23 cm / 9″ or as you like.
- Bind-off the tummy section 10, 12, 14, 16, 18, or 20 stitches.
- Decrease the back section as follows: k2, ssk, knit until 5 stitches remain, k2tog, k3.
- Turn your work, slip the first stitch, and purl across.
- Turn your work again, slip the first stitch, knit, and continue decreasing as before.
- Continue until the stitch count decreases to: XS= 30, S= 34, M= 38, L= 44, XL= 50, or XXL= 56 stitches depending on the size.
- Last row of the body: Slip the first stitch, k2, k2tog, k2tog, knit until 7 sts remain, ssk, ssk, k1, and ssk to finish.
Step 4: Waistband / Rib
- Use a crochet hook to pick up the yarn through the stitch holes along the side (video) of the body and place the stitches onto the circular needle. Skip 1 stitch after every 3 stitches until you reach the tummy section.
- Pick up 10, 12, 14, 16, 18, or 20 stitches from the tummy, then continue the same way on the other side until you reach the end.
- Total waistband sts for size S= 73 sts. See number 6 on the photo for the pattern.
- Knit 1×1 rib stitch for 7 rows. P.S. If you have an even number of stitches, k2tog for the first stitch.
- Bind off, then use a yarn needle to sew the ends together neatly and hide the yarn tails inside.
Step 5: Sleeves / Cuffs
- Pick up sleeve sts from holders: XS: 23, S: 27, M: 31, L: 37, XL: 43, or XXL: 49 sts.
- Pick up 3, 3, 3, 4, 4, or 4 sts along under arm. Total sleeve sts now: XS= 26, S= 30, M= 34, L= 41, XL= 47, XXL= 53 sts. See number 4 on the photo for the pattern.
- Knit 1×1 rib stitch for 7 rows using 2 circular needles.
- Bind off and sew the ends together.
And finally, it’s done!
I hope you enjoy your knitting time and have fun seeing your cat or dog wearing it. 🐾
P.S. A special thanks to all the amazing tutorials that inspired and guided me while making this pattern.
🎥 Watch the Tutorial:
Follow step by step with this video guide: 👉
You can also download the free PDF pattern from this link. 💕
👉https://auraguignard.com/product/free-cat-small-dog-sweater-pdf-knitting-pattern/
Thank you so much for supporting my work at auraguignard.com — it means a lot to me.
Orathai Guignard

Pattern designed by Aura Atelier de Couture,
Petits-Monts 6, Le Locle 2400, Switzerland.
For personal use only. No part of this pattern may be duplicated or reproduced for any reason.
Love the dog coat.